Tile Roofs in Arizona: What to Watch for as Your Roof Ages
Home / Azul Blog / Tile Roofs in Arizona: What to Watch for as Your Roof Ages Tile roofs are one of the most popular roofing systems across Arizona—and for good reason. Clay and...
7 min read
Jack Daniels, Estimator and Sales Integrator : Updated on December 1, 2025

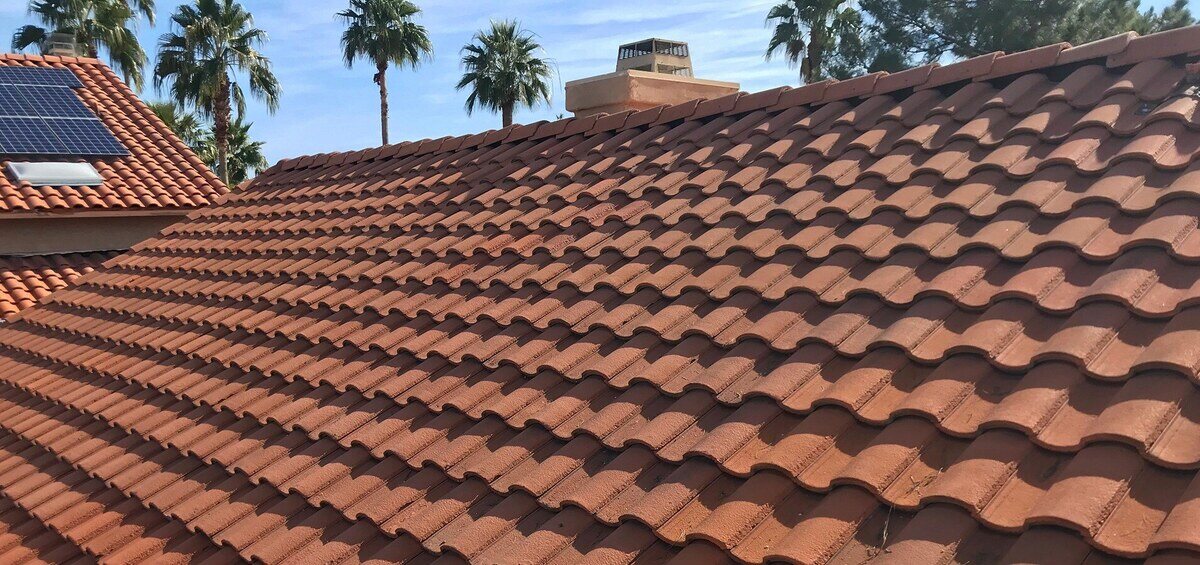
Tile roofs are a popular choice here in The Valley of the Sun. They combine aesthetic appeal with durability, and they help homes withstand Arizona’s harsh heat, monsoons, and dust while providing good thermal performance. Even so, no roofing material is completely immune to wear and damage. Over time, tile roofs can develop cracks, fading, loose tiles, degrading underlayment, or other common issues that compromise both their functionality and appearance. Catching damage early and taking action can save money, protect your home, and extend the lifespan of your roof.
In this blog, we will explore what causes tile damage, how to spot trouble early, how repairs are done, typical costs, preventative maintenance, and when it’s best to call a pro. At the end, you’ll find a helpful FAQ section that provides quick answers to common concerns.
Tile roofs, often made of clay or concrete (and sometimes slate or synthetic materials), are built to last. But several unique factors in Arizona can make them vulnerable to damage:
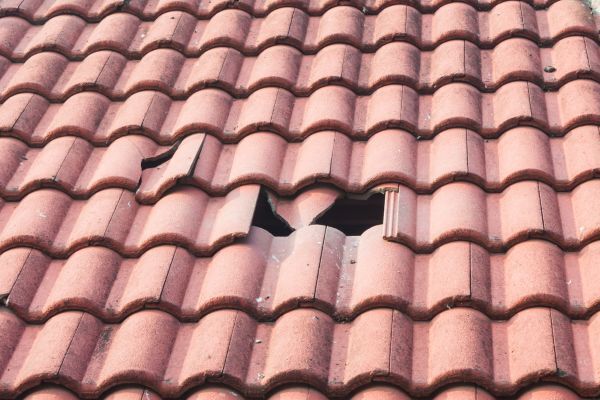
Identifying broken or damaged tiles early can help you prevent water intrusion, structural damage, or more costly repairs before the spread. Here are some common signs that your tile roof requires attention. Always be cautious if using a ladder and try to avoid stepping on any tiles. With that said, here’s what to look for:
Some tile roof repairs can be handled by homeowners (if safe and familiar and comfortable on a ladder or rooftop), but there are many times when hiring a roofing professional is the wisest and safest choice. Let’s take a closer look at these scenarios.
Good candidates for DIY:
Best to call a Professional:
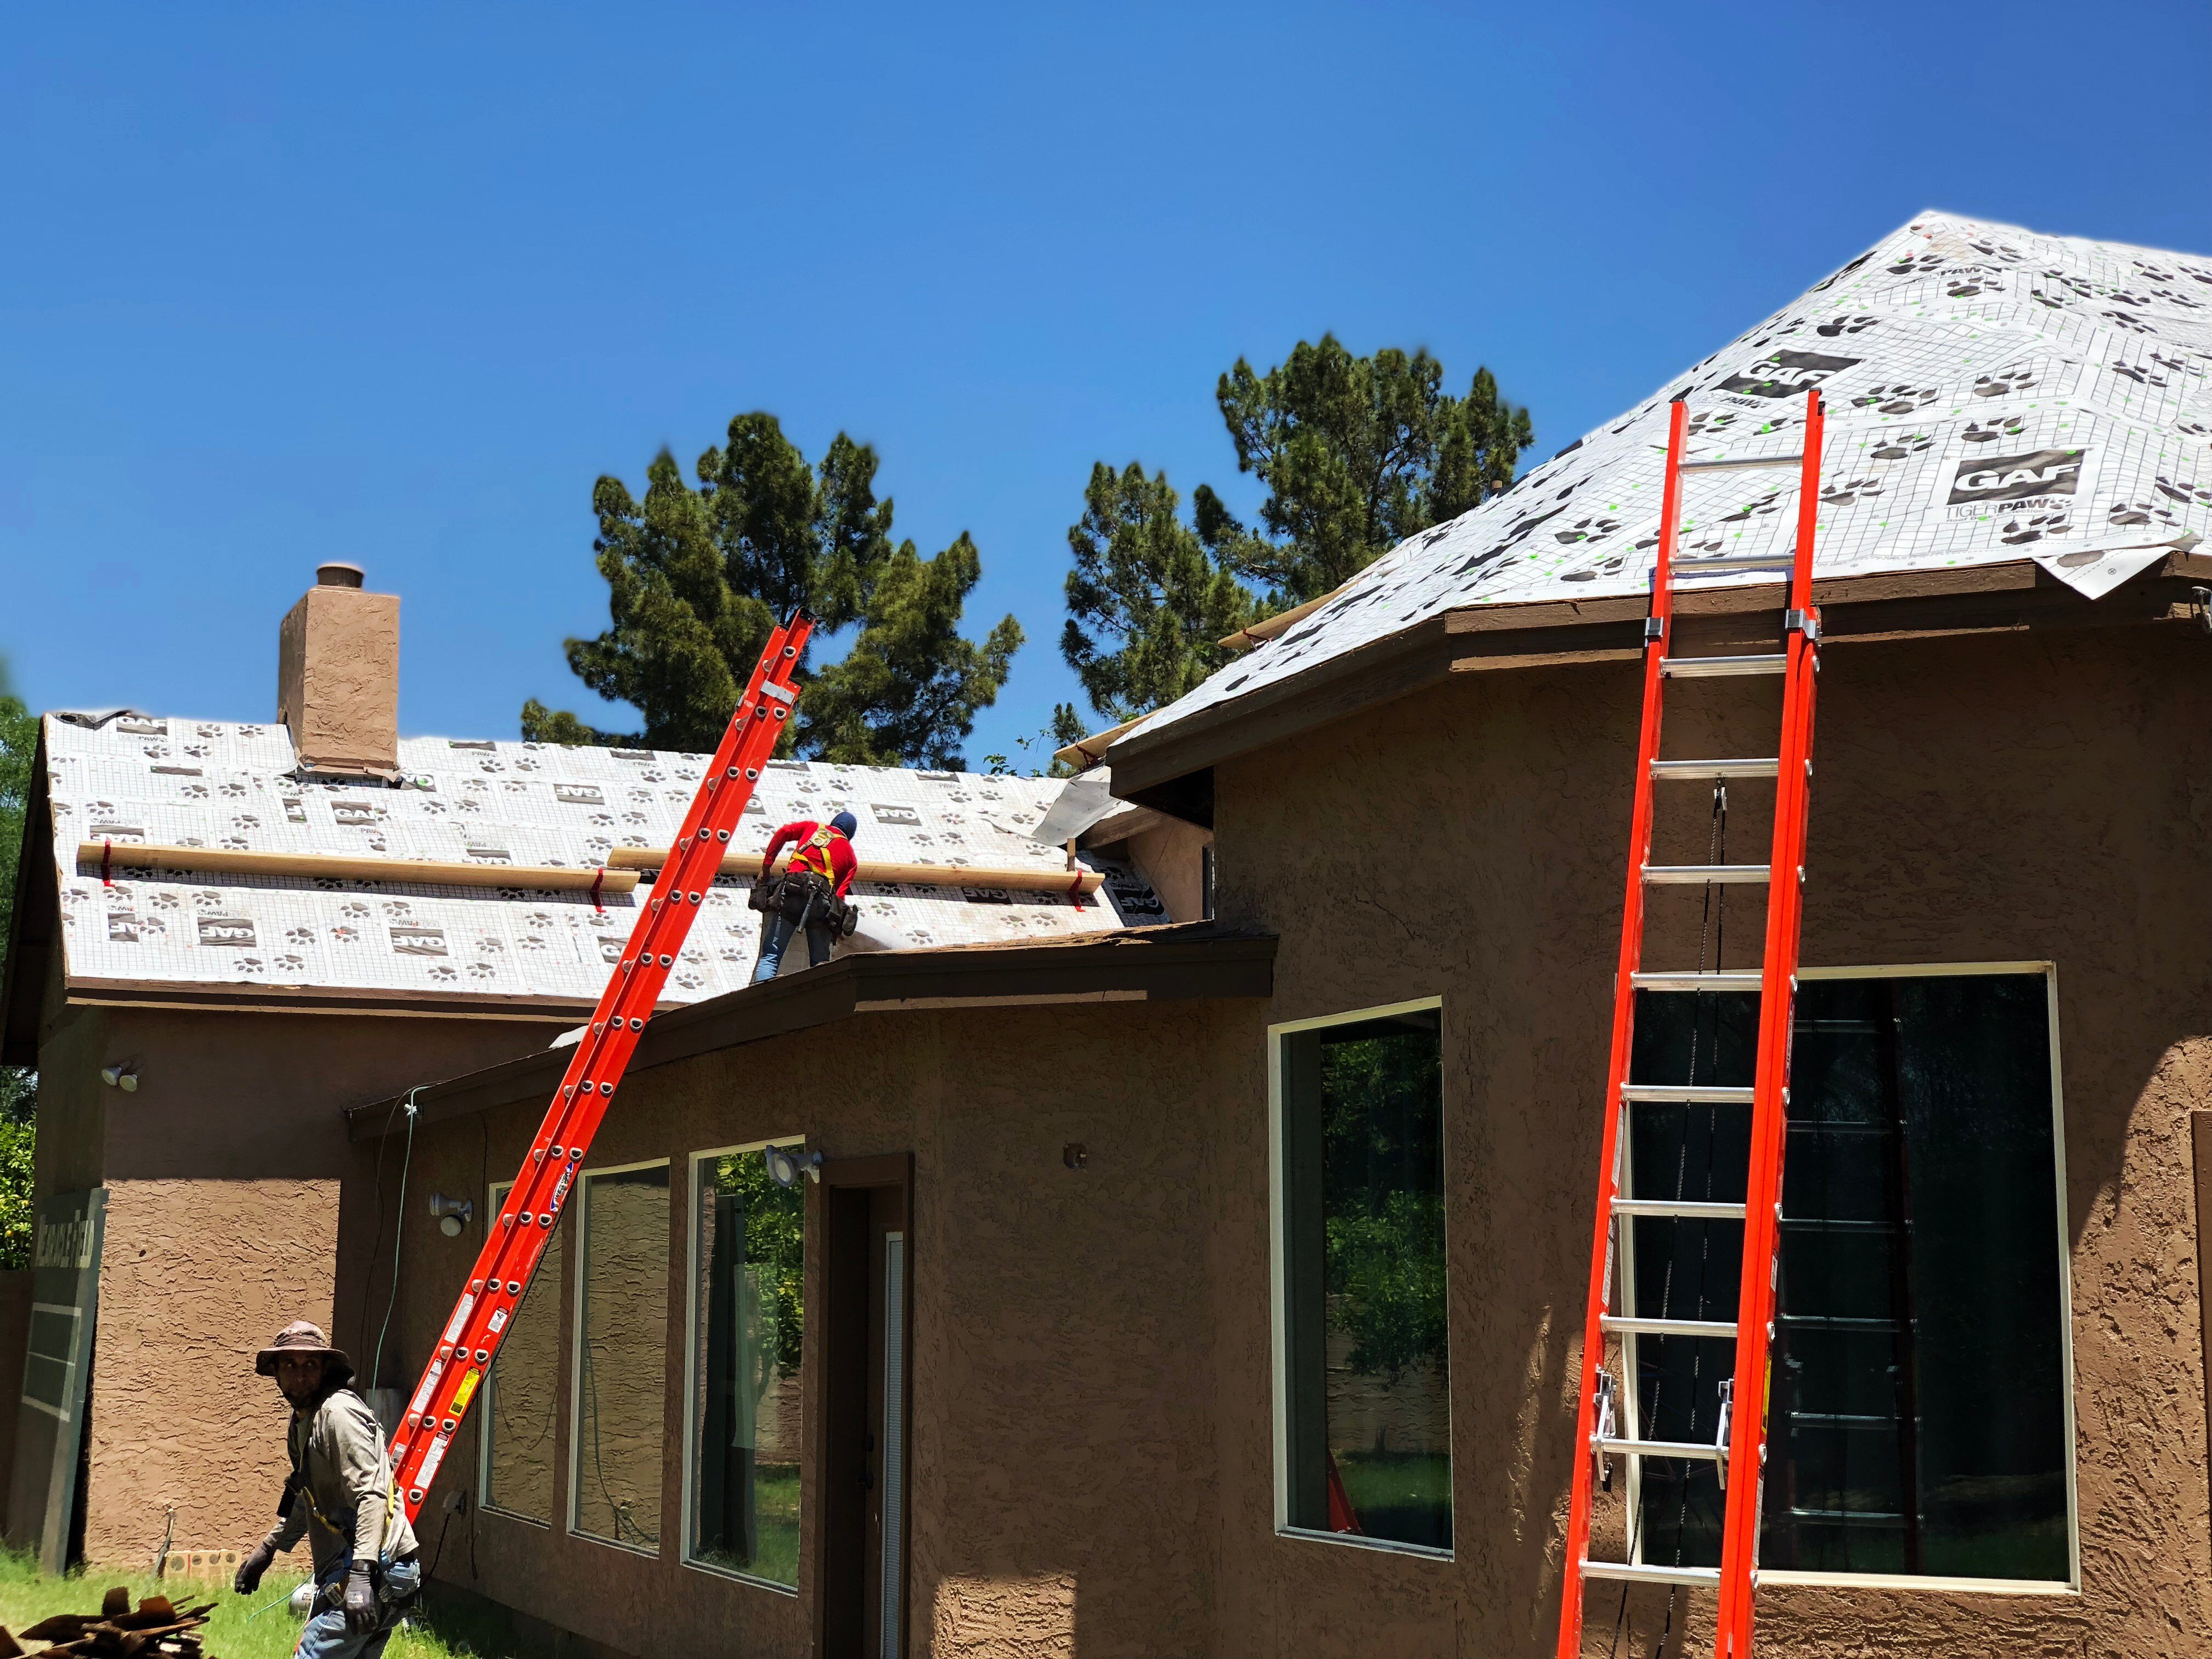
Here’s a breakdown of the typical repair process when you hire a professional:
Repair costs can vary widely depending on the extent of damage, tile type, access, slope, and whether structure/underlayment are involved. Here’s a rough breakdown:
|
Repair Scenario |
Typical Cost Range* |
|
Replacing a few broken tiles (no underlayment damage) |
$200 – $600 |
|
Repairing cracks or replacing several tiles + small area of underlayment |
$600 – $1,500 |
|
Repairing flashing, multiple roof areas, underlayment rework |
$1,500 – $3,000+ |
|
Full roof replacement (if widespread damage) |
$10,000 – $25,000+ depending on tile type, size, slope |
*Prices can fluctuate based on tile type (clay vs concrete vs specialty), accessibility, local labor rates, and materials. Also, color matching or custom tiles may cost more.
Maintaining your roof properly can reduce how often you need repairs and prolong its lifespan (25-50 years for good tile roofs, sometimes longer if well maintained).
Because of our climate, there are extras to watch out for:
With quality materials, good installation, and proper maintenance, tile roofs in Arizona can last for decades. Clay tiles tend to last longer (50+ years) if undisturbed, and they can often be
reused if underlayment needs replacing. Most underlayments must be replaced within 20-30 years. Concrete tiles are more common due to their lower cost and good durability if properly installed and maintained. Warranties often reflect these expectations; make sure any work done comes with proper material and labor warranties.
When choosing a contractor to repair or inspect your tile roof:
Tile roofs are beautiful and durable, but like any roof system, time, weather, and environmental factors can take a toll over the course of many years. Recognizing signs of damage early — cracked tiles, missing ones, water stains — and acting promptly will save you money, headache and future disasters. Whether doing small repairs yourself or hiring a pro for more involved work, proper installation, quality materials, and regular maintenance are key to extending your roof’s life, especially in Arizona’s demanding climate.
Below are answers to commonly asked questions about tile roof repair, to help you make informed decisions.
Yes, you can repair just one broken or cracked tile — and often that’s all that’s needed. However, if tiles are aged differently, you may have trouble matching color or style. Sometimes, replacing tiles in a cluster or section yields a more uniform look. Also, one broken tile can signal more underlying damage, so a more thorough inspection is wise.
Look for signs like water stains or wet insulation in the attic, sagging roof decking, mold or rot on sheathing. If flashing is compromised or if there have been long-standing leaks, damage likely extends beyond visible tiles. A professional can lift tiles and inspect beneath to identify rot, water damage, or structural issues.
Repairing a few tiles (no decking damage) may cost a few hundred dollars. Fixing flashing, underlayment, or larger sections may cost into the thousands. Full replacements (depending on tile material, roof pitch, size) often cost ten thousand dollars or more. Always get estimates. Also, cost depends heavily on tile type, access difficulty, and labor in your area.
It depends. If you're using matching tiles and a certified contractor, and the repair doesn’t violate terms of the warranty (e.g. underlayment or flashing specifications), you should keep warranty intact. Check the warranty terms on both the original tiles and any roofing system components (flashing, underlayment). Asking the roofing contractor to certify that repair work will maintain warranty is a good idea.
Definitely. Even a small crack or missing tile permits water infiltration. Over time, water causes wood rot, structural damage, damage to insulation, mold or mildew problems, increased energy bills, and in extreme cases, roof collapse or interior damage. Prompt repairs are far cheaper than dealing with broader damage later.
Clay tiles are very durable, resist fading, and often perform well under intense sun. Concrete tiles are less expensive and can be quite durable too but may need more frequent sealing or maintenance. For both types, choosing tiles with UV protection, proper underlayment, and quality flashing helps. Also consider tile shape and weight — steeper pitched roofs or heavier tiles might require stronger support.
Usually twice a year is good: once in spring (after any winter weather) and once in fall (before monsoon season). Also inspect after major storms, hail, or high wind events. Keep gutters clean, remove debris, trim trees, seal flashing as needed. Regular small maintenance avoids bigger repair bills.

Home / Azul Blog / Tile Roofs in Arizona: What to Watch for as Your Roof Ages Tile roofs are one of the most popular roofing systems across Arizona—and for good reason. Clay and...

Home / Azul Blog / Roof Underlayment 101: What It Is & Why It’s Important When most homeowners think about their roof, they picture the tiles, shingles, or foam that cover the top...